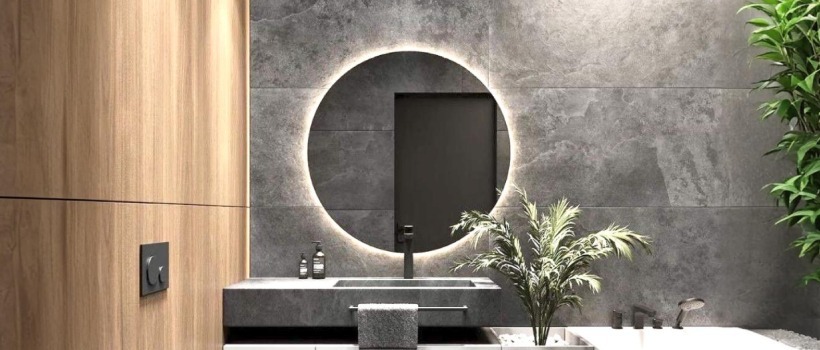
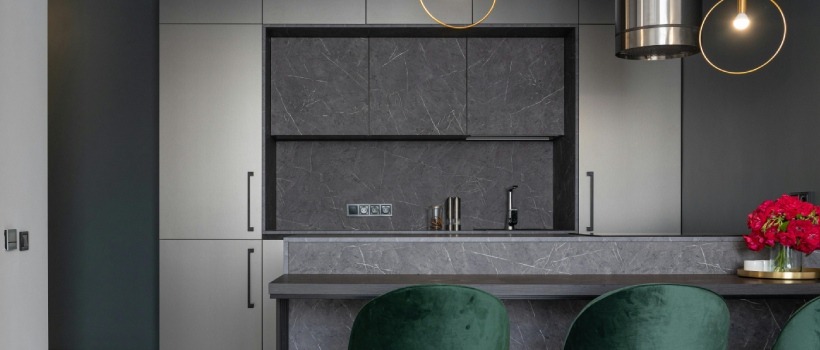
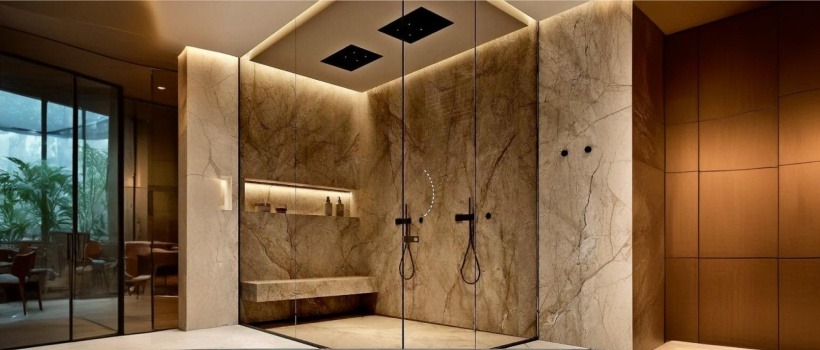
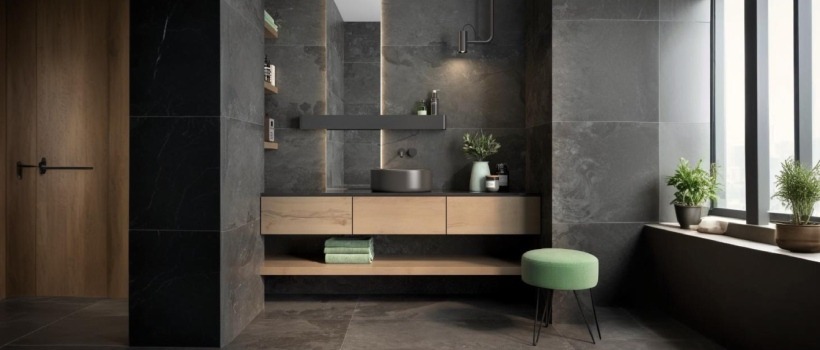
When you’re looking to elevate the aesthetics of your home or commercial space, thin stone veneer is the perfect solution. This versatile and cost-effective material can transform everything from fireplaces and accent walls to entire exterior façades, adding a touch of elegance and timeless beauty. As one of the top Natural stone veneer manufacturers in India and a trusted stone laminate supplier in India, we provide not only high-quality products but also expert guidance, ensuring your installation is smooth and your results are stunning. Whether you’re a DIY enthusiast or a professional, we’re here to help you achieve a successful project.
In this blog, we will explore the essential steps and tips for a flawless thin stone veneer installation. Whether you’re planning a DIY project or seeking professional insights, you’ll find everything you need to achieve a beautiful and lasting finish.
What is Thin Stone Veneer?

Thin stone veneer is a lightweight, versatile, and durable material that replicates the natural beauty of stone without the hefty weight and cost. Unlike full-thickness stone, thin stone veneer is typically cut to a thickness of about 1 to 1.5 inches, making it easier to handle and install on a variety of surfaces, including drywall, plywood, concrete, and masonry. It offers the aesthetic appeal of traditional stone while being more practical for both interior and exterior applications, allowing homeowners and builders to achieve a high-end look with less hassle.
This type of veneer is available in a wide range of colors, textures, and styles, making it an ideal choice for various design projects, from rustic fireplaces to modern accent walls. Whether you opt for natural stone veneer or manufactured stone veneer, both options provide a realistic stone appearance that enhances the architectural features of any space. As a popular choice among Natural stone veneer manufacturers in India, thin stone veneer is favored for its ability to bring elegance and character to a home or commercial building, all while being a cost-effective and efficient solution.
Tools and Materials You’ll Need
Before starting your thin stone veneer installation, it’s important to gather the right tools and materials. Here’s what you’ll need:
- Trowels for spreading mortar
- Mason hammer or cut-off angle grinder for shaping stones
- Rake for scoring the scratch coat
- Staple gun for securing the metal lath
- Grout bag and joint tool for finishing joints
- Brushes for cleaning and dampening stones
Materials:
- Moisture barrier for surfaces like drywall or wood
- Galvanized metal lath for secure attachment
- Galvanized nails or staples
- Veneer stone mortar mix
- Selected thin stone veneer stones From Reputed stone veneer suppliers
Plan Your Project Natural Stone Veneer Manufacturers in India

Proper planning is essential for any successful DIY project, especially when it comes to installing thin stone veneer. By addressing a few key considerations upfront, you can ensure a smooth installation process that delivers stunning results. As a top Natural stone veneer manufacturers in India, we recommend focusing on the following aspects to set your project up for success:
Application Location:
Choosing the right location for your thin stone veneer is crucial for achieving the desired visual impact. Whether you’re enhancing a front porch column, revamping a living room fireplace, or adding an accent wall, stone veneer can serve as a striking focal point. It’s important to consider the base material when planning your installation. For example, applying stone veneer over exterior drywall or wood requires a moisture barrier, while cement or masonry surfaces only need a metal lath for proper adhesion.
Aesthetics:
Before you start, decide on the look and feel you want to achieve. Are you aiming for a rustic, natural appearance with large, thick stones, or a sleek, modern design with thin, uniform panels? Consider the color palette, stone size, and texture that will best complement your space. By mixing and matching different stone types, you can create a unique and visually engaging stone veneer surface that reflects your personal style.
Material Type:
Selecting the right stone veneer material is key to your project’s success. With options ranging from natural stone to stone laminate, you can choose based on your aesthetic preferences and ease of installation. Natural stone offers an authentic, timeless look, while stone laminate provides consistency and a lighter weight, making it easier to handle and install. As one of the leading stone laminate suppliers in India, we offer a variety of materials to match your design vision.
Material Measurements:
Accurate measurements are essential to avoid material shortages or excess. Measure the width and height of the surface area you plan to cover, subtracting any openings like windows or doors. To ensure you have enough material, it’s wise to add an extra 5-10% to your order. This allows flexibility for cutting and fitting, and also accommodates any unexpected changes during installation.
Calculations:
Along with measuring materials, consider the total cost of your stone veneer project, including tools and other supplies. Plan a realistic timeframe for the installation, keeping in mind that smaller interior projects, such as a fireplace surround, can be completed within a day, while larger exterior installations may take a weekend. Proper planning will help you stay on budget and on schedule, ensuring a smooth and successful project from start to finish.
Common Installation Areas
Deciding where to install stone veneer is as much about personal style as it is about functionality. The best installation areas showcase the natural durability and strength of stone while creating bold, eye-catching features that seamlessly blend form and function.
- Fireplaces: A fireplace is an ideal spot for showcasing natural stone veneer. Whether you have a traditional wood-burning fireplace, a gas unit, or a modern electric one, stone veneer adds warmth and elegance, making it a focal point in any room.
- Interior Walls: Stone veneer can dramatically transform interior spaces. It can be applied to various surfaces like drywall, plywood, sheetrock, and fiber cement boards to create a stunning, wall-to-wall feature that elevates the ambiance of any room.
- Exterior Walls: From framed plywood panels to concrete, masonry, and stucco, almost any exterior wall can be enhanced with stone veneer. It provides a striking visual appeal while adding an extra layer of protection and durability to your home’s exterior.
- Accent Walls/Panels: Use stone veneer to add a pop of texture and color to specific areas within a room. Kitchen backsplashes, cozy nook panels, and bedroom accent walls are just a few places where stone veneer can create a stylish, complementary feature.
- Columns: Adding stone veneer to porch or entryway columns brings a sense of luxury and depth, both inside and outside your home. It enhances the architectural details and creates a lasting impression.
For installations on clean, unpainted, and untreated exterior concrete or masonry, the process is simpler since these surfaces do not require waterproof barriers. This makes it easier to achieve a seamless and durable finish with your stone veneer project.
5 Steps for Installing Thin Stone Veneer

Installing thin stone veneer can transform your space, adding elegance and durability. Follow these detailed steps to ensure a successful and long-lasting installation:
Step 1: Surface Preparation Begin by thoroughly cleaning the surface where you plan to install the thin stone veneer. Whether you’re working with drywall, plywood, concrete, or masonry, the surface must be clean, dry, and free of any debris or dust. If you’re applying the veneer over wood or drywall, start by installing a moisture barrier to protect against water damage. Next, secure a galvanized metal lath to the surface using galvanized nails or staples. This lath will provide the necessary grip for the mortar, ensuring the stone veneer adheres properly.
Step 2: Applying the Scratch Coat Once the metal lath is in place, it’s time to apply the scratch coat. Mix your mortar to a firm, consistent texture. Using a trowel, spread a 0.5-inch-thick layer of mortar over the lath, making sure it’s evenly distributed. After applying the mortar, use a rake to create horizontal grooves across the surface. These grooves will help the stone veneer bond more securely to the scratch coat. Allow the scratch coat to set and harden for 24-36 hours before proceeding to the next step.
Step 3: Laying Out and Shaping the Stone Before attaching the thin stone veneer to the wall, lay out the stones on the ground to plan your design. This step allows you to visualize the final look and make any necessary adjustments. Use a mason hammer or angle grinder to trim and shape the stones as needed, ensuring they fit together seamlessly. By carefully planning the layout, you can achieve a balanced and visually appealing pattern, whether you’re going for a rustic or contemporary look.
Step 4: Installing the Stone Veneer With your design planned, it’s time to start installing the stone veneer. Begin by dampening the back of each stone with a wet brush or sponge to prevent the mortar from drying too quickly. Next, apply a generous layer of mortar to the back of each stone (known as back buttering) and press it firmly into the scratch coat. Start at the bottom of the wall and work your way up, making sure each stone is securely embedded. Maintain consistent joint widths of no more than 0.5 inches for a uniform appearance.
Step 5: Finishing Touches After all the stones are in place, it’s time to fill the joints between the stones with grout. Use a grout bag to carefully apply the grout, ensuring all gaps are filled evenly. Allow the grout to partially dry, then use a joint tool to smooth and finish the joints, removing any excess grout. Finally, clean the surface of the stone veneer with a dry brush to remove any mortar or grout residue. For added protection, consider applying a sealer to the stones to enhance their durability and resistance to moisture and stains.
By following these detailed steps, you can achieve a professional-quality thin stone veneer installation that enhances the beauty and value of your home or commercial space.
Trust Decorcera No.1 Natural stone veneer manufacturers in India
At Decorcera, we take pride in offering high-quality thin stone veneer and stone laminate products that we would trust in our own homes. As a dedicated and experienced stone veneer manufacturer & exporters in India, we combine craftsmanship and innovation to deliver materials that stand the test of time. Our commitment to excellence is rooted in our rich history and passion for the industry, ensuring that every product we offer meets the highest standards of quality and durability. When you choose Decorcera, you’re not just getting building materials—you’re investing in a legacy of reliability and superior craftsmanship.

